Locations
In Odoo Inventory, a location is a specific space within a warehouse. This can be a shelf, room, aisle, rack, bin, etc.
There are also external and virtual locations. For example, customer locations, and locations specifically designated as “virtual”, instead of real, physical locations.
Locations allow for the storage of products in designated areas of the warehouse, to help track inventory accurately.
Configuration
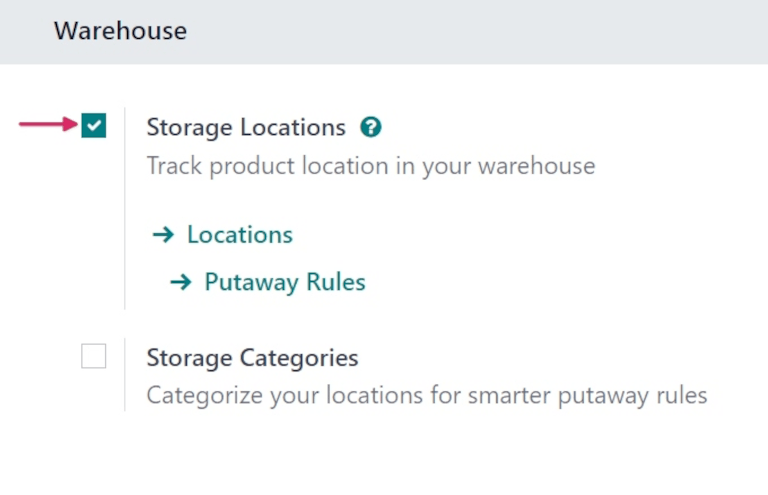
To specify storage locations, the Storage Locations setting must be enabled. To do so, navigate to , and scroll down to the Warehouse section. Tick the checkbox next to Storage Locations to enable the feature, and click Save.

Once the Storage Locations feature is enabled, two additional internal link options appear below it: Locations and Putaway Rules. Click Locations to open a list of all existing locations in the warehouse.
Create a new location inside a warehouse
To create a new location inside a warehouse, navigate to . Doing so opens a list of all existing locations. Click New to open a new location creation form.
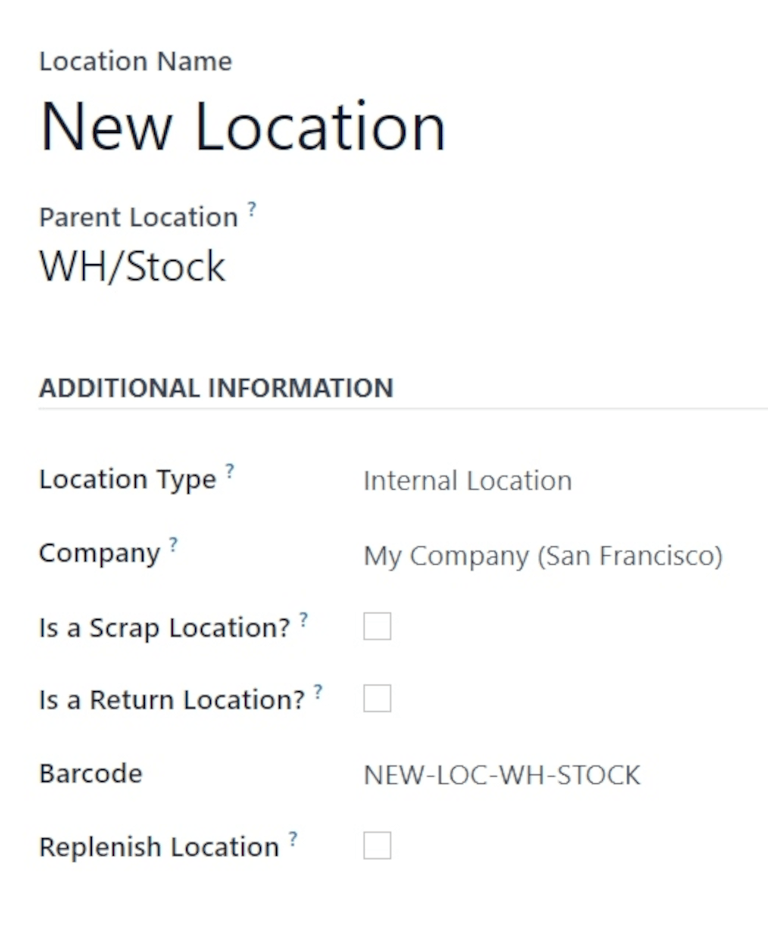
In the Location Name field, assign a name for the new location. In the Parent Location field, assign the location that this new location exists in.
Example
A new location Gate 1 is created. Its parent location is Dispatch Zone. In the
Parent Location for Gate 1, select Dispatch Zone.
In the Additional Information section, fill out the necessary details for the new location.
In the Location Type field, select which type of location this is. There are seven different types of locations to choose from:
Vendor Location: virtual location representing the source location for products coming from vendors.
View: virtual location used to create a hierarchical structure for a warehouse; aggregates its child locations. Should not directly contain products.
Internal Location: physical location inside a warehouse.
Customer Location: virtual location representing the destination location for products sent to customers.
Inventory Loss: virtual location serving as a counterpart for inventory operations. Used to correct stock levels of physical inventory.
Production: virtual counterpart location for production operations. This location consumes components and produces finished products.
Transit Location: counterpart location that should be used in inter-company or inter-warehouse operations.

Configure the remaining fields in the Additional Information section as follows:
Company: the company whose warehouse the location is inside of. Leave this field blank if this location is shared between companies.
Is a Scrap Location?: tick this checkbox to allow for scrapped/damaged goods to be stored in this location.
Is a Return Location?: tick this checkbox to allow products to be returned to this location.
Barcode: the barcode assigned to the location.
Replenish Location: tick this checkbox to get all quantities to replenish at this location.
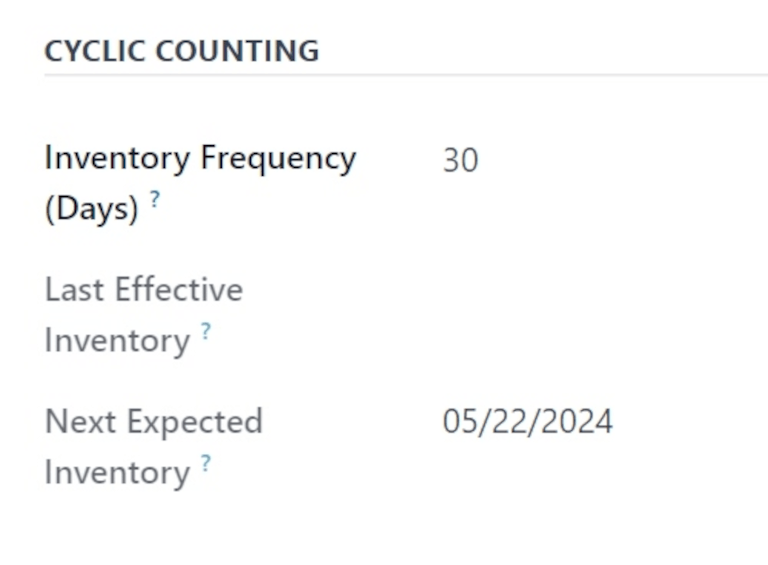
In the Cyclic Counting section, change the value in the Inventory Frequency
(Days) field from the default 0, if necessary.

When different than 0, the inventory count dates for products stored at this location are
automatically set at the defined frequency.
In the Logistics section, in the Removal Strategy field, click the drop-down menu and select the removal strategy for how items should be removed from this location.
Create location hierarchies
The Parent Location setting on the new location form allows for a location to exist within a warehouse, or below another location.
Every location can serve as a parent location, and every parent location can have multiple locations within it, allowing for the creation of a hierarchical structure.
Example
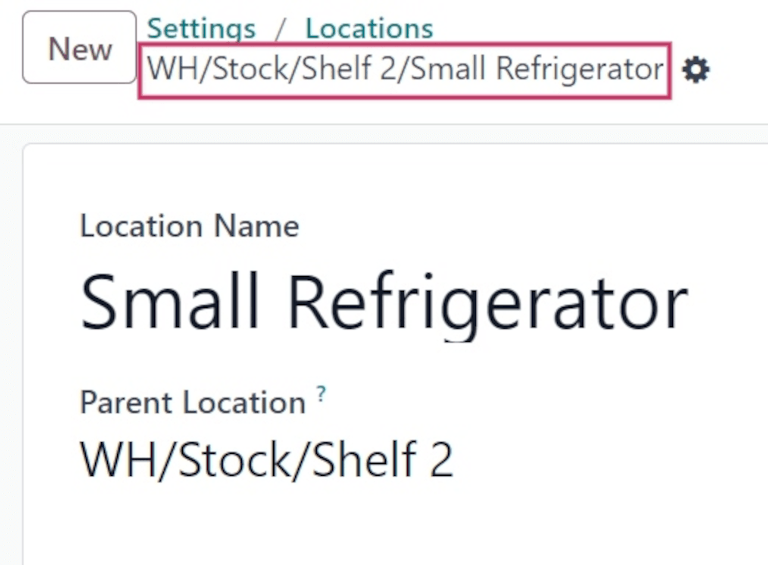
Location hierarchy could be organized so that a small refrigerator is located on a specific shelf, which is located in the warehouse.

To create the location hierarchy in the example above (WH/Stock/Shelf 2/Small Refrigerator),
set the warehouse stock as the parent of the shelf, and the shelf as the parent of the small
refrigerator. This can be adapted to a hierarchy of any magnitude.
See also